TENS (Transcutaneous Electrical Nerve Stimulation) units offer drug-free pain relief․ Understanding your device, as detailed in the instruction manual, is crucial for effective and safe use․
Proper setup, electrode placement, and intensity adjustments – all covered in the manual – maximize benefits․ Referencing the guide ensures optimal pain management․
What is a TENS Machine?
A TENS machine, or Transcutaneous Electrical Nerve Stimulation unit, is a small, battery-operated device used for pain relief․ It delivers low-voltage electrical currents through the skin to stimulate nerves․ These currents are designed to block pain signals from reaching the brain, offering temporary relief from various acute and chronic pain conditions․
As highlighted in numerous instruction manuals, TENS machines are non-invasive and drug-free alternatives to pain management․ They are commonly used for musculoskeletal pain, arthritis, nerve pain, and post-operative discomfort․ The intensity of the stimulation is adjustable, allowing users to personalize their treatment․
The Premier Easy TENS and Muscle Stimulators, for example, are designed for ease of use, but understanding the specific features outlined in the user guide is essential․ Proper operation, as detailed in the manual, ensures both effectiveness and safety․ Always consult the manual before initial use․
How Does a TENS Machine Work?
TENS machines function by sending electrical impulses through the skin via electrode pads․ These impulses stimulate nerve fibers, primarily aiming to reduce pain perception․ The instruction manual typically explains two main theories: the Gate Control Theory and the Endorphin Release Theory․
The Gate Control Theory suggests TENS signals “close the gate” on pain signals traveling to the brain․ Simultaneously, the stimulation encourages the body to release endorphins – natural pain relievers․ Adjusting the intensity, as described in the manual, influences the type of nerve fibers stimulated․
Understanding Channel 1 (CH1) and Channel 2 (CH2), detailed in the user guide, allows for customized stimulation patterns․ Lowering the intensity, as recommended for initial use, is crucial․ The manual emphasizes correct electrode pad placement and ensuring they are at least 2 inches apart for optimal results․ Following these guidelines maximizes the therapeutic effect․

Understanding the Components
The instruction manual details each part: the unit itself, electrode pads (various sizes), and lead wires․ Correct connections, as illustrated, are vital for proper function․
The TENS Unit Itself
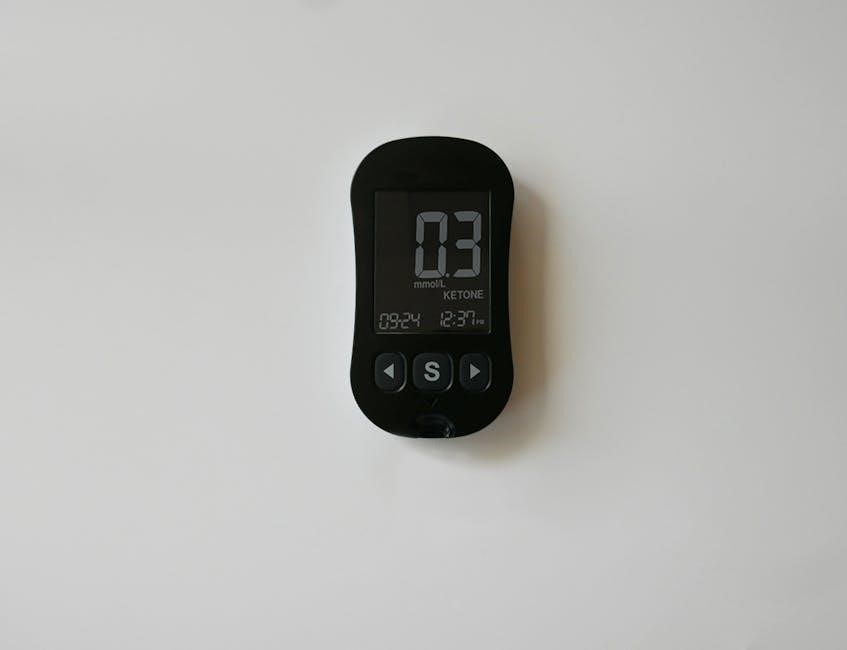
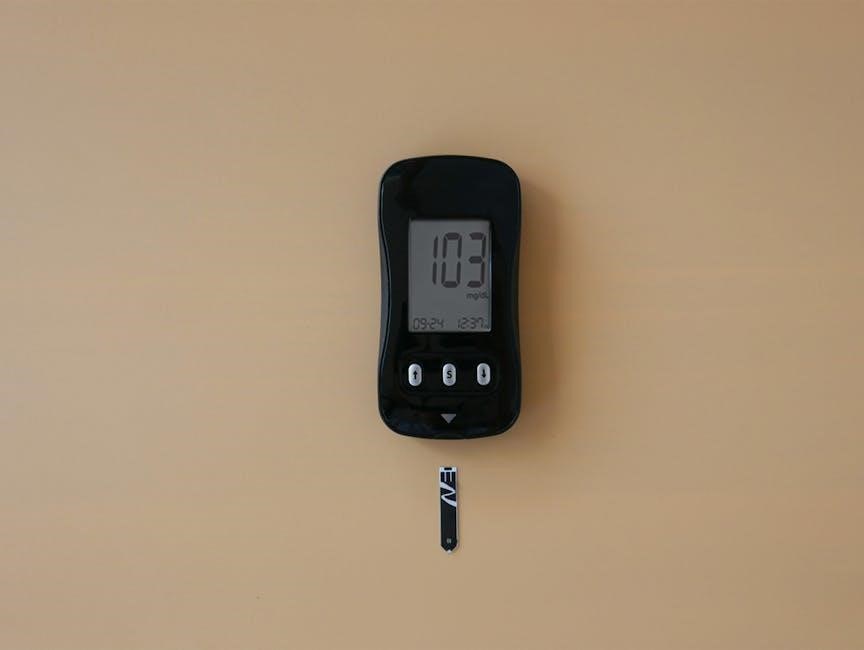
Your TENS unit, as described in the instruction manual, is the central control for pain relief․ It’s typically a small, battery-operated device, often requiring initial charging before use – consult the manual for specific charging instructions․ The unit features controls for adjusting intensity, mode, and pulse rate, allowing customization for individual needs․
Many models, like the Premier Easy TENS, include dual channels (CH1 & CH2), enabling simultaneous stimulation of two different areas․ The manual will clearly label these channels and explain their independent operation․ Understanding the unit’s display is also key; it shows intensity levels and selected modes․
The instruction manual emphasizes the importance of keeping the unit clean and dry․ It also details the function of buttons and indicators, ensuring you can confidently navigate its features․ Familiarize yourself with the unit’s power on/off switch and any safety features mentioned in the guide․

Electrode Pads: Types and Sizes
Electrode pads, detailed in your TENS machine’s instruction manual, are crucial for delivering electrical impulses to the skin․ They come in various types – conductive gel pads (single-use) and reusable, self-adhesive pads․ The manual will specify which types are compatible with your unit․
Pad size is also important․ The manual may advise using pads “no smaller than…” a certain diameter, especially if experiencing weak stimulation․ Larger pads distribute the current over a wider area, while smaller pads offer more focused stimulation; Proper adhesion is vital; ensure skin is clean and dry before application․
The instruction manual will explain how to store pads to maintain their adhesiveness․ Replacing worn or damaged pads is essential for optimal performance․ If skin irritation occurs (see troubleshooting), the manual may suggest hypoallergenic pads․ Always follow the manual’s guidance on pad placement and replacement frequency․
Lead Wires and Connections
Lead wires, as illustrated in your TENS machine’s instruction manual, securely connect the electrode pads to the TENS unit itself․ The manual will detail the correct connection points – typically labeled ‘CH1’ (Channel 1) and ‘CH2’ (Channel 2)․ Ensure a firm connection at both ends; loose connections can result in inconsistent or absent stimulation․
The manual may specify the type of connector used by your unit․ Incorrectly connected wires will prevent the device from functioning properly․ It’s crucial to follow the diagram provided in the manual precisely․ Inspect wires regularly for any signs of damage, such as fraying or breaks․
If experiencing issues, the manual may suggest checking the wire connections first․ Proper wire management prevents tangling and accidental disconnections during use․ Always disconnect wires before cleaning the unit or replacing electrode pads, as per the manual’s instructions․
Safety Precautions
Always consult your instruction manual before use․ It details crucial contraindications, pregnancy precautions, and general safety guidelines for optimal, risk-free TENS therapy․
Contraindications: When NOT to Use a TENS Machine
Your TENS unit instruction manual is paramount in understanding when not to use the device․ Crucially, never use a TENS machine if you have an implanted electronic device like a pacemaker, implantable cardioverter-defibrillator (ICD), or neurostimulator․ Electrical interference could cause malfunction․
Avoid application over the carotid sinus (neck), eyes, or directly over the heart․ Do not use on areas of skin that lack normal sensation, or over broken/irritated skin, varicose veins, or cancerous lesions․
Individuals with epilepsy should consult their physician before use, as TENS may potentially trigger seizures․ Similarly, those with deep vein thrombosis (DVT) or active infections should avoid TENS therapy․ Always prioritize safety and refer to your manual for a complete list of contraindications specific to your model․ Ignoring these warnings could lead to serious health consequences․
Precautions During Pregnancy
The instruction manual for your TENS unit will detail specific pregnancy precautions․ Generally, TENS can be used during pregnancy for labor pain, but always consult your healthcare provider before initiating treatment․ Avoid using TENS on the abdomen or lower back during the first trimester unless specifically directed by your doctor․
Never place electrodes near the fetal head or across the lower back simultaneously․ If experiencing contractions, use low intensity settings and monitor both your and the baby’s well-being․ Discontinue use immediately if any concerning symptoms arise, such as uterine contractions or fetal distress․
Carefully review the manual’s guidance on electrode placement and intensity levels for pregnancy․ Remember, self-treatment during pregnancy requires informed consent from your physician․ Prioritize safety and follow their recommendations closely throughout your pregnancy․
General Safety Guidelines
Your TENS unit instruction manual emphasizes several crucial safety points․ Always inspect electrode pads for damage before each use, replacing any worn or cracked pads to prevent skin irritation․ Never use the device while driving, operating machinery, or performing tasks requiring full attention․
Keep the unit away from water and extreme temperatures․ Do not share electrode pads with others to maintain hygiene and prevent cross-contamination․ Ensure the unit is powered off when not in use and during electrode pad replacement․ Avoid applying electrodes over broken skin, wounds, or areas with impaired sensation․
If you experience excessive muscle twitching, skin redness, or discomfort, immediately reduce the intensity or discontinue use․ Consult your healthcare provider if symptoms persist․ Proper storage, as outlined in the manual, will prolong the life of your TENS unit․
Setting Up Your TENS Machine
Refer to your instruction manual for specific charging details․ Correct electrode pad placement, detailed within, is vital․ Securely connect lead wires to both the unit and pads․
Charging Instructions
Before your initial use, and whenever the unit indicates low battery, fully charge your Premier TENS & Muscle Stimulator․ The provided instruction manual details the charging process, typically involving a USB connection․ Ensure the charging port is clean and free of debris before connecting the cable․

A charging indicator light will illuminate, often red while charging and changing to green upon completion․ Charging times vary, but generally range from several hours․ Avoid using the unit while it’s charging, as this may damage the battery or affect performance․
Disconnect the charger once fully charged to prolong battery life․ Regularly charging, even when not in immediate use, can help maintain optimal battery health․ Always refer to your specific model’s manual for precise charging guidelines and safety precautions․ Improper charging can void the warranty․

Applying Electrode Pads: Placement Guidelines
Proper electrode pad placement, as detailed in your TENS unit’s instruction manual, is vital for effective pain relief․ Clean and dry the skin thoroughly before applying the pads․ Avoid areas with broken skin, rashes, or scars․
Generally, pads should be placed around the painful area, not directly on it․ Maintain a minimum distance of 2 inches (5 cm) between pads to prevent discomfort and ensure proper current distribution․ The manual will illustrate common placement locations for various pain types․

Ensure the pads adhere firmly to the skin․ If they begin to lift, replace them with fresh pads․ Avoid folding or stretching the pads, as this can affect their conductivity; Experiment with different placements, guided by the manual, to find what works best for your specific condition․
Connecting Lead Wires
Carefully connect the lead wires to both the TENS unit and the electrode pads, following the instructions in your device’s manual․ Most units utilize a standard 2mm connector; ensure a secure connection by gently inserting the plug until it clicks․
Typically, each lead wire corresponds to a specific channel (CH1 or CH2) on the unit․ The manual will clearly indicate which wire connects to which channel․ Incorrect connections can result in ineffective stimulation or uneven current distribution․
Inspect the wires regularly for any signs of damage, such as fraying or exposed wires․ Damaged wires should be replaced immediately to prevent electrical shock or malfunction․ Always turn off the unit before connecting or disconnecting lead wires․ Proper connection ensures optimal performance and safety․

Operating Instructions
Begin by powering on the TENS unit․ Adjust intensity gradually, referencing the manual․ Understand channel controls (CH1 & CH2) for customized pain relief settings․
Powering On and Off
To initiate operation, locate the power button on your TENS unit – its position varies by model, so consult your instruction manual for precise location․ A firm, yet gentle, press will typically activate the device․ You should observe an indicator light illuminating, confirming power-on status․ Some units may emit a brief audible tone․
Adjusting the intensity before fully powering on can sometimes be beneficial, especially if you are sensitive to initial stimulation․ Conversely, to deactivate the unit, press the power button again․ The indicator light will extinguish, signaling that the device is off․
Ensure the unit is completely powered down when not in use, and before applying or removing electrode pads․ This prevents accidental stimulation and conserves battery life․ Always refer to your specific model’s manual for detailed powering procedures, as variations exist between manufacturers and device types․ Proper power management extends the lifespan of your TENS unit․
Adjusting Intensity Levels
Begin with the intensity control set to the lowest level – typically zero․ Gradually increase the intensity using the designated buttons or dial, as outlined in your instruction manual․ Monitor your sensation closely; you should feel a comfortable tingling or buzzing sensation, not pain․
Increase the intensity incrementally until you achieve the desired level of pain relief․ If the sensation becomes uncomfortable, immediately reduce the intensity․ Remember, the goal is to mask pain, not to create new discomfort․
Electrode pad placement and size can influence the required intensity․ If you experience weak stimulation, reposition the pads or consider larger sizes․ The manual provides guidance on optimal placement․ Always prioritize comfort and effectiveness when adjusting intensity levels, and never exceed a level that causes pain․
Understanding Channel 1 & Channel 2 (CH1 & CH2)
Many TENS units, like the Premier Easy TENS, feature dual channels – CH1 and CH2․ These allow for independent control of two separate pain areas simultaneously․ Each channel has its own intensity adjustment and mode settings, as detailed in the instruction manual․
You can use both channels to treat the same area with different parameters, or target two distinct painful locations․ For example, CH1 might address lower back pain while CH2 focuses on a knee issue․
Refer to your manual for specific instructions on activating and adjusting each channel․ Understanding CH1 & CH2 expands the versatility of your TENS unit, enabling customized pain management․ Experimenting with different settings on each channel, while monitoring your comfort, can optimize relief․
Troubleshooting Common Issues
If you experience issues, consult the instruction manual․ Common problems include weak stimulation, skin irritation, or the unit failing to power on․
Adjusting intensity or pad placement often resolves weak signals; the manual details these steps․
No Stimulation or Weak Stimulation
Experiencing no stimulation or only weak sensations with your TENS unit is a common issue, often easily resolved by following the troubleshooting steps outlined in your instruction manual․ First, lower the intensity gradually, as sometimes a setting that’s too high can initially feel like nothing at all․
Next, check the electrode pad placement․ Ensure they are at least 2 inches (5 cm) apart, as pads positioned too closely together can diminish the effect․ Consider that electrode pads may be too small; replacing them with larger diameter pads can improve conductivity․
Also, verify proper connections of the lead wires to both the unit and the pads․ A loose connection can interrupt the electrical circuit․ Finally, ensure you are following the instructions correctly regarding mode selection and intensity adjustments, as detailed in the user guide․ If problems persist, consult the manual’s dedicated troubleshooting section or contact customer support at (855) 686-3835․
Skin Irritation from Electrode Pads
Experiencing skin irritation beneath the electrode pads is a potential side effect, but often manageable․ Your TENS machine instruction manual recommends several preventative measures․ First, ensure your skin is clean and dry before applying the pads; oils or lotions can trap moisture and exacerbate irritation․
Avoid using worn or damaged pads, as their adhesive can become more irritating over time․ Regularly replace pads according to the manufacturer’s guidelines․ If redness or discomfort develops, immediately discontinue use and remove the pads․
Gently clean the affected area with mild soap and water․ Consider using hypoallergenic electrode pads if you have sensitive skin․ Varying pad placement with each use can also help prevent localized irritation․ If irritation persists, consult a healthcare professional, referencing the manual for device details․
Unit Not Powering On
If your TENS unit fails to power on, the instruction manual outlines a systematic troubleshooting approach․ First, verify the unit is adequately charged; connect it to the power source and allow sufficient charging time, as detailed in the manual’s charging instructions․
Check the battery indicator to confirm charging status․ Ensure the power switch is fully engaged – sometimes a slight adjustment is needed․ Inspect the lead wires for any damage or loose connections; a faulty connection can prevent power-up․
If the issue persists, consult the manual’s section on technical specifications to confirm the power adapter meets the unit’s requirements․ A damaged adapter could be the culprit․ As a last resort, contact customer support (855-686-3835) referencing your model number for further assistance, and have your manual handy․